Azure Steps 1 - 4
Step 1 (Azure Portal)
Add an Azure Application to Launch QDS Clusters
Prerequisites:
You must have an Azure Portal account with an active subscription. (You will need the subscription ID when you set up your QDS account).
You must be a global administrator, or you must be a user with permission to register an application in Active Directory and to assign the application to a role. User settings under Azure Active Directory in the Azure Portal should look like this:
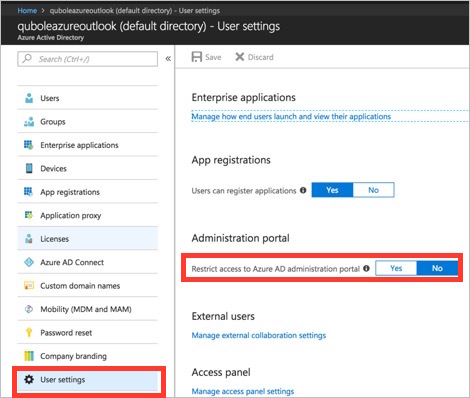
Users can register applications must be set to Yes.
Restrict access to Azure AD administration portal must be set to No.
If this is not what you see, ask your Azure global administrator to make the necessary change before you proceed.
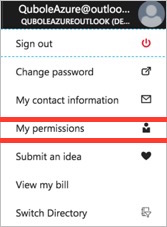
You must have the Owner or User Access Administrator role to be able to assign a role to your application. Check this as follows:
Step 1a. Create and Register an Azure Active Directory Application
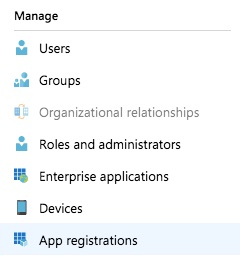
In the Azure Portal, choose Azure Active Directory and App registrations:
Choose + New registration:

Provide a name and URL for the application:
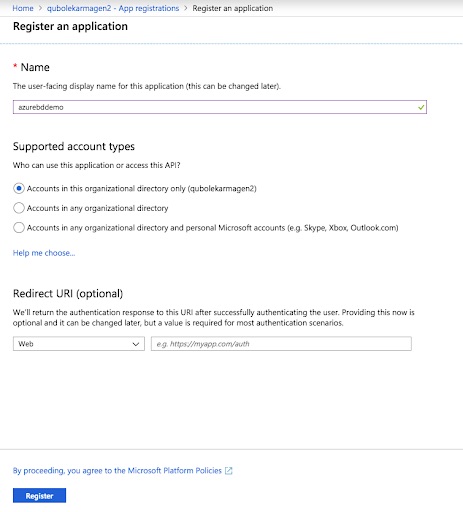
Click Register; this creates the application and shows its ID and other details.
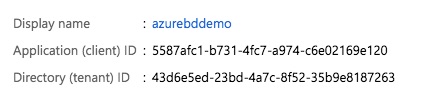
Step 1b: Copy the Application (client) ID and Directory (tenant) ID
Application (client) ID: This is the application or client ID. You need this ID to set up your Qubole account (Compute Client ID in Step 5b):
Directory (tenant) ID: This the Tenant ID or Directory ID for your Azure Active Directory tenant (Compute Tenant ID in Step 5b).
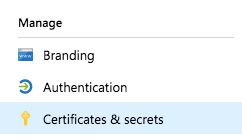
Step 1c: Create and Copy the Client Secret Key
Choose Certificates and secrets under Manage for the application you have just registered.
Create the authentication key: choose + New client secret

Provide a description and duration (Expires) and click Add.
Note
Make sure you copy the key value before proceeding. You will need to enter this into the QDS UI in Step 5b (Compute Client Secret).
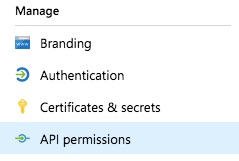
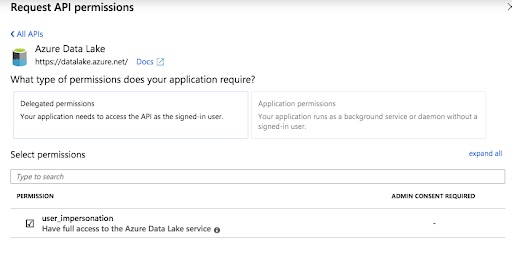
Step 1d (ADLS GEN 1 ONLY): Add API permissions to the App Registration
Note
This step is needed only if you intend to use ADLS Gen 1 storage. Otherwise, skip to Step 1e.
Choose API permissions for the application you have just registered:
Add a permission and select Azure Data Lake. Make sure you check the user_impersonation check box:
Step 1e: Assign the Application to a Role
Assign the Contributor IAM role to the application you created in Step 1a.
Prerequisite: Remember you must have the Owner or User Access Administrator role as explained at the beginning of this document.
Choose or create the Resource Group you want Qubole to use:
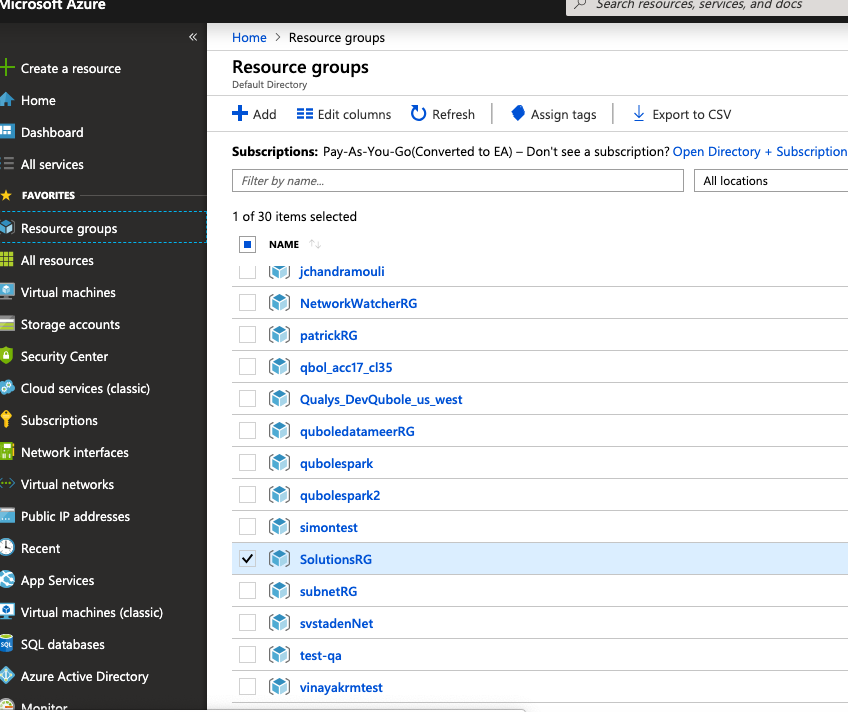
Choose Access control (IAM) and + Add:
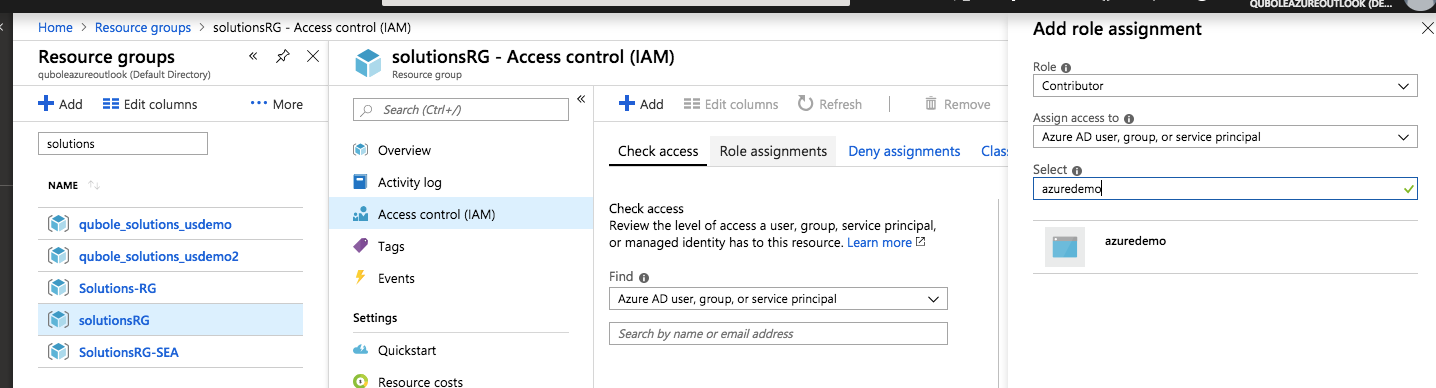
Choose the Contributor role and select the users or groups you want to assign access to.
Click Save to assign the role.
Note
If the Contributor role does not meet the needs of your organization, you can modify or replace it.
You have created the application you need to launch QDS clusters. Now you need to enable programmatic deployment of QDS.
Step 2 (Azure Portal)
Enable Programmatic Deployment of QDS
Search for marketplace, and then in the marketplace search for Qubole. You should see two entries:

Select each entry for Qubole Data Service and do the following for each:
Click Want to deploy automatically? Get started
Choose your subscription:
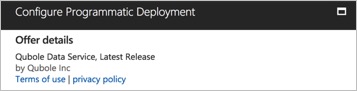
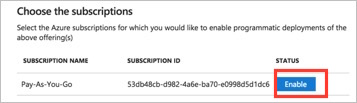
Click Enable and Save.
Once you have enabled both Qubole Data Service items, you have enabled QDS deployment on Azure. Now proceed to add a virtual network (VNet).
Step 3: (Azure Portal)
Create a Virtual Network
Navigate to Virtual Networks (search if you need to) and click + Add:
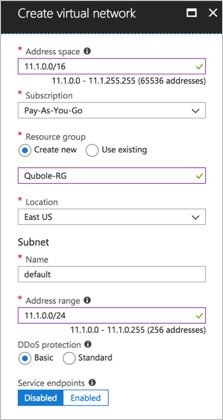
Click Create.
You have created a virtual network for your QDS virtual machines (VMs). Now you need to create storage.
Step 4: (Azure Portal)
Create a Blob, Azure Data Lake, or ADLS Gen 2 Storage Account
Note
Choose ONE OF:
Step 4a. Configure Blob Storage
Create the storage account:
Navigate to Storage accounts in the Azure portal and click + Add.
On the Create storage account screen, fill in the starred fields or let them default. The storage account must be a general-purpose account and the deployment model must be Resource Manager (these are the defaults). You can choose Standard or Premium storage. Premium storage uses solid-state disks (SSDs); this option restricts your choice among instance (virtual machine) types but provides better performance. Account Kind should be BlobStorage:
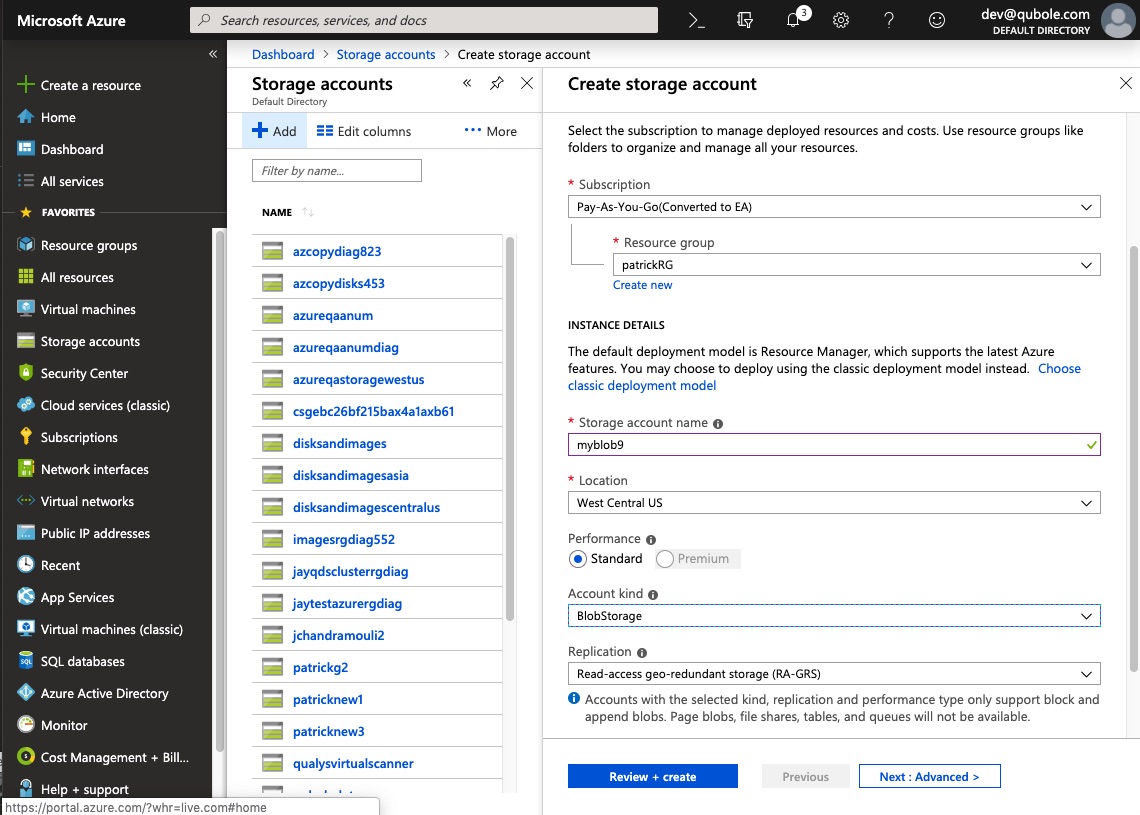
Click Next: Advanced >
Toggle the value of Secure transfer required to Disabled
Click Review + create.
Create a dedicated storage container for Qubole logs and results:
- Navigate to Storage accounts and select the account you have just created.
- Select Blobs.
- Choose + Container.
- Give the new container a name.
- Click OK.
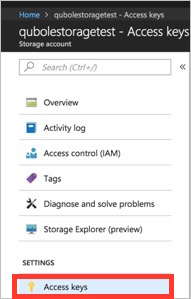
Copy the Storage Access keys:
Choose Access Keys for this storage account:
Note
Make a note of the access keys. You will need them to configure your Qubole account (Step 5 (QDS): Configure QDS Account Settings).
If you are using Blob storage, your Azure set-up is complete. Continue with Step 5 to start using QDS.
Step 4b. Configure Azure Data Lake Storage
Choose + Create a Resource and then choose Storage and Data Lake Storage Gen1:
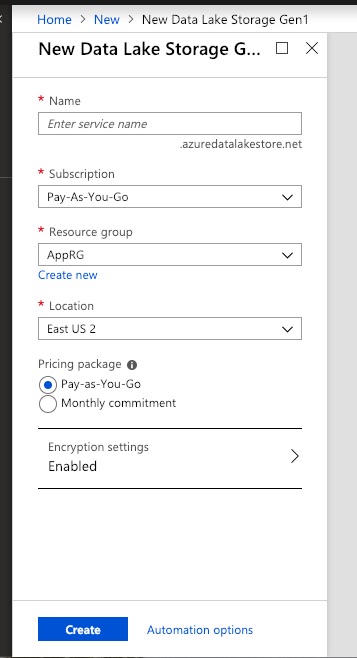
Provide the information for the starred fields and click Create.
Configure permissions to allow the application you created in Step 1a to use the Data Lake Store you have just created, as shown here. (If you don’t see the new Data Lake Store in the Data Explorer immediately, wait a few moments to allow Azure to finish creating the store, then click Refresh.)
Allow read, write, and execute permissions and allow all sub-folders to inherit them:
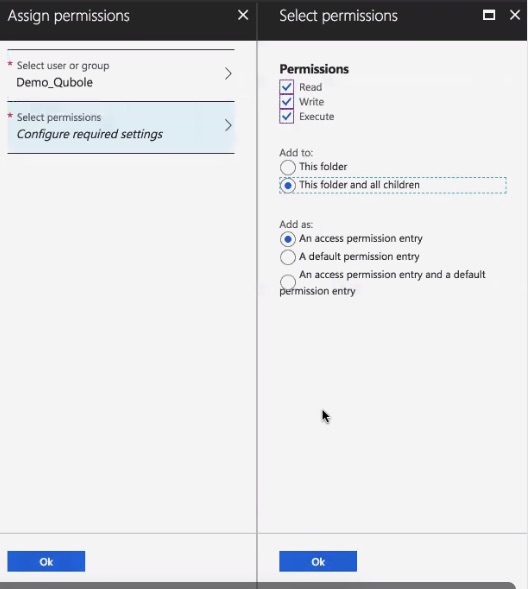
Click OK.
You have created your Data Lake Store and your Azure set-up is complete. Continue with Step 5 to start using QDS.
Step 4c. Configure Azure Data Lake Gen 2 Storage with Keys
Create the storage account:
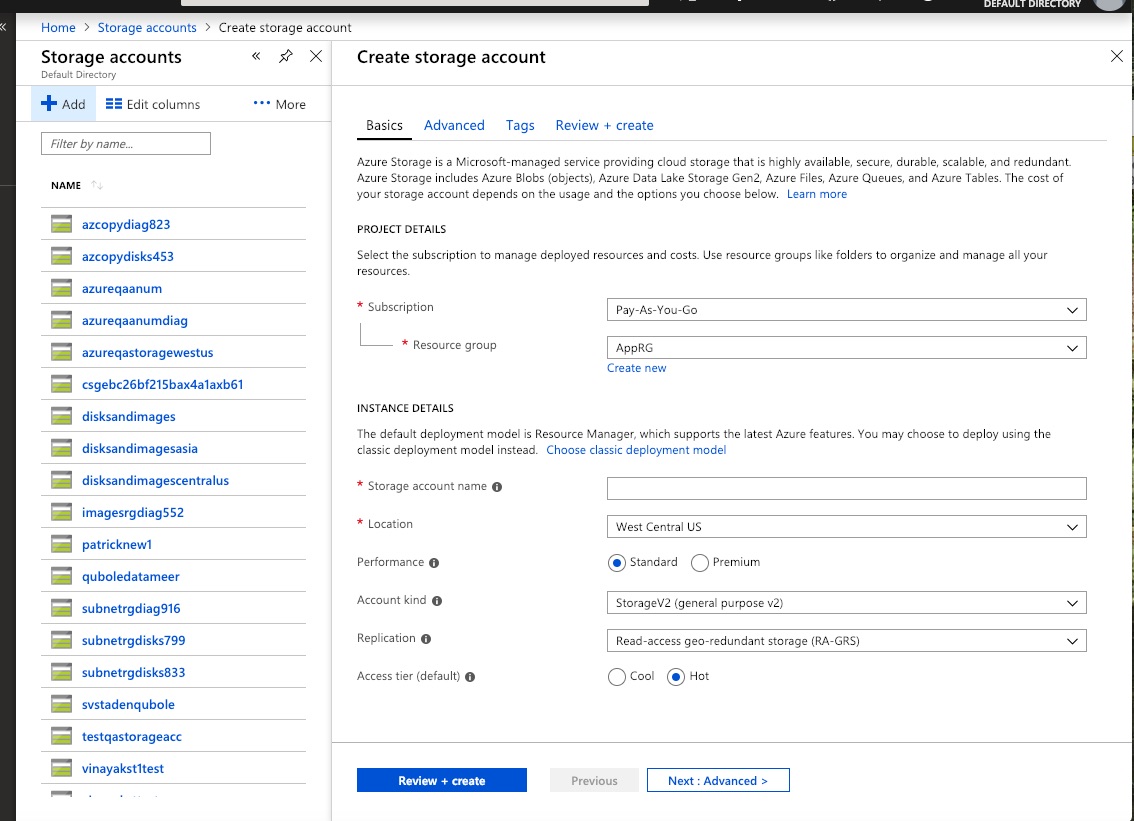
Navigate to Storage accounts in the Azure portal and click + Add.
On the Create storage account screen, fill in the starred fields or let them default. You can choose an existing Resource Group or create a new one. You can choose Standard or Premium storage. Premium storage uses solid-state disks (SSDs); this option restricts your choice among instance (virtual machine) types but provides better performance. Account Kind must be StorageV2 (general-purpose v2) (this is the default):
Click Next: Advanced >
Optionally toggle the value of Hierarchical namespace to Enabled.
Click Review + create.
Copy the Storage Access keys:
- Navigate to Storage accounts and select the account you have just created.
- Choose Access Keys for this storage account:
Note
Make a note of the access keys. You will need them to configure your Qubole account (Step 5 (QDS): Configure QDS Account Settings).
Step 4d. Configure Azure Data Lake Gen 2 Storage with Tokens
Note
Contact Qubole Support to enable this capability.
Create the storage account:
Navigate to Storage accounts in the Azure portal and click + Add.
On the Create storage account screen, fill in the starred fields or let them default. You can choose an existing Resource Group or create a new one. You can choose Standard or Premium storage. Premium storage uses solid-state disks (SSDs); this option restricts your choice among instance (virtual machine) types but provides better performance. Account Kind must be StorageV2 (general-purpose v2) (this is the default):
Click Next: Advanced >
Make sure the value of Secure transport required is Enabled.
Optionally toggle the value of Hierarchical namespace to Enabled.
Click Review + create.
Configure permissions to allow the application you created in Step 1a to use the Data Lake Gen 2 Store you have just created.
Note
The steps that follow assign the Storage Blob Data Contributor role to the entire storage account; every directory and file will inherit the same permissions. You can also assign permissions at the filesystem level: navigate to the storage account you have just created, choose File systems and + File system, create the file system, then assign the Storage Blob Data Contributor role to that file system as described below.
Alternatively, you can use the Microsoft Azure Storage Explorer to assign permissions at the directory level. See Using the Microsoft Azure Storage Explorer to Set POSIX Permissions for a Directory: Example.
Navigate to Storage accounts and select the account you have just created.
Choose Access Control (IAM)
Choose + Add and select Add role assignment from the pull-down menu.
Search for your application and assign the Storage Blob Data Contributor role to it:
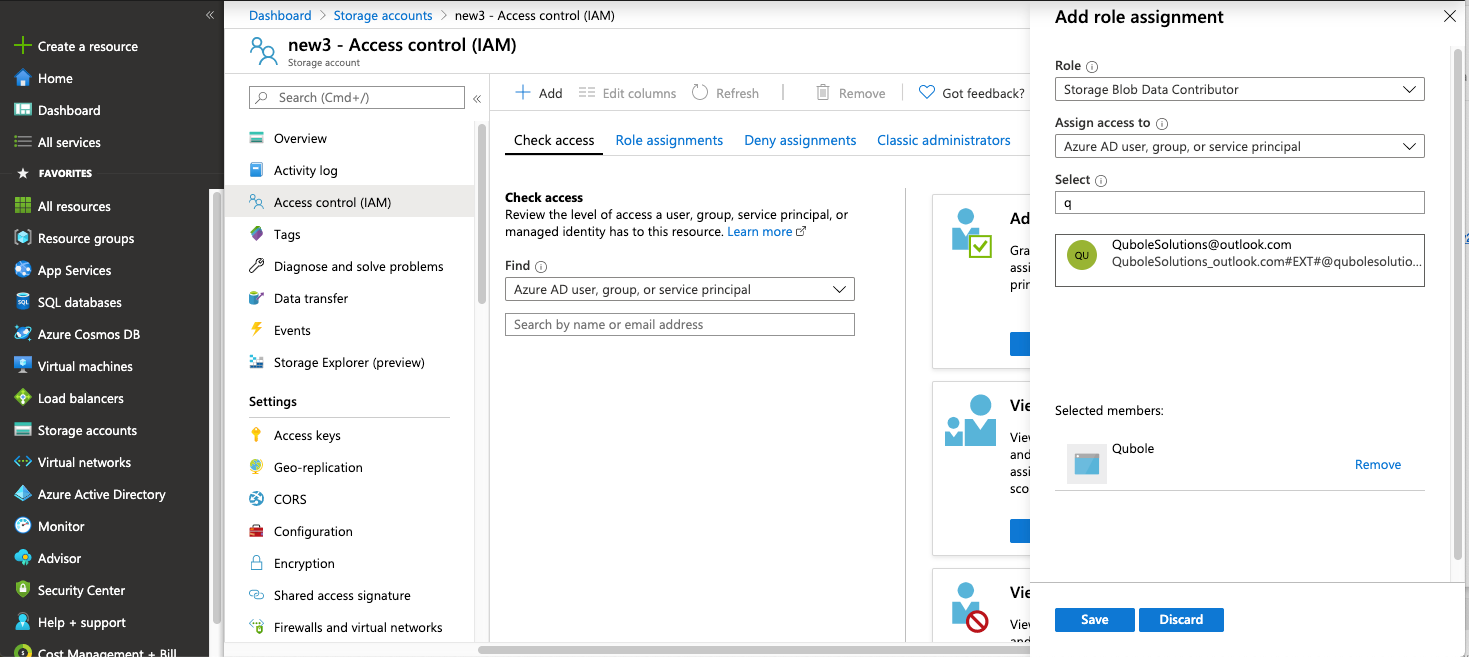
Click Save.
Your Azure set-up is complete. Continue with Step 5 to start using QDS.
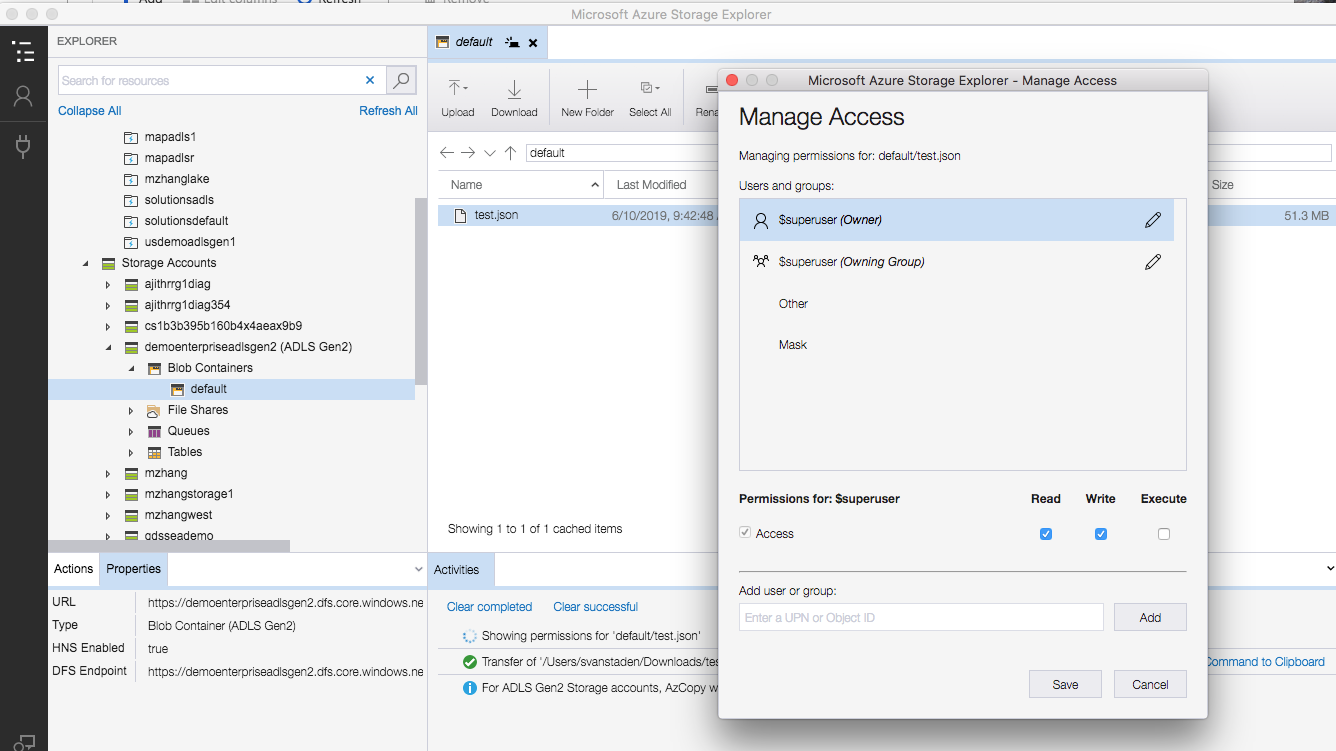
Using the Microsoft Azure Storage Explorer to Set POSIX Permissions for a Directory: Example
The Microsoft Azure Storage Explorer is a separate utility that you can obtain via the Microsoft Portal. The following
example illustrates setting access permissions for a directory named default: