Notebooks
To use notebooks, perform these steps:
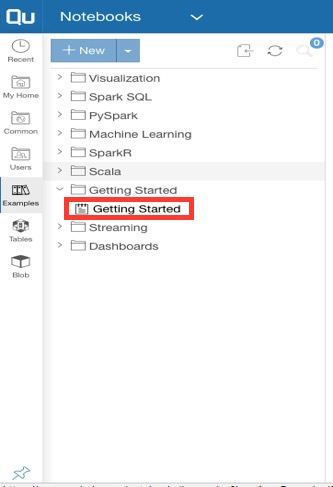
Choose Notebooks from the Control Panel and click on the link for Examples.

Choose the Getting Started notebook:
Copy the notebook:

You’ll see a dialog window:
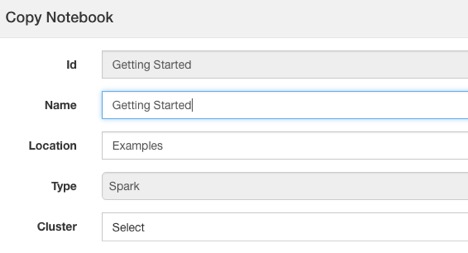
Give the notebook a new name or let it default.
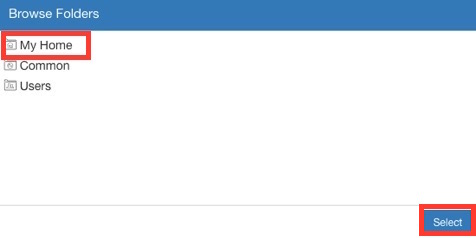
Choose a location:
Choose the cluster and click Copy:
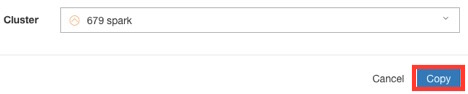
This creates and runs the new notebook. You’ll see a message that the notebook is in read-only mode while the cluster is starting up. This can take a few minutes.