Using Qubole through Looker
After the connection between Qubole and Looker is established, you can use it to create dashboards in the Looker. You have to get all the tables in the schema available in Qubole and create a dashboard out of one of the tables in the schema.
View Tables in the Schema
Follow the instructions below to view tables in the schema:
On Looker, click Admin. In the Admin tab, click Connections under Database, which is on the left side.
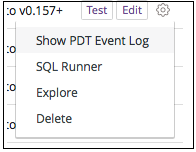
For the connection that you have created in Configure looker, click the settings (gear) icon.

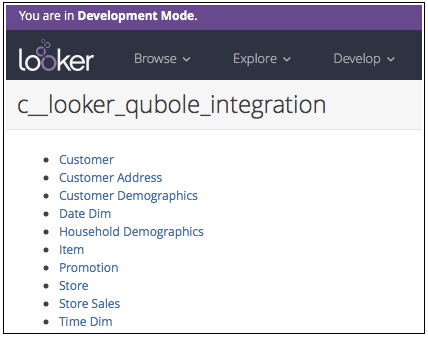
From the Settings menu, select Explore and it runs the queries on Qubole’s Presto cluster to get the table information for the Schema (provided in Step 4 of Configure looker). You can expect a delay in loading the Explore page based on the number of queries to run. If the cluster is not started, some additional time is required to start the cluster.

Click the tables that you want to use in Looker and it redirects you to the Explore page for the selected table.
Create a Dashboard on Looker
Follow the instructions below to create a dashboard on Looker:
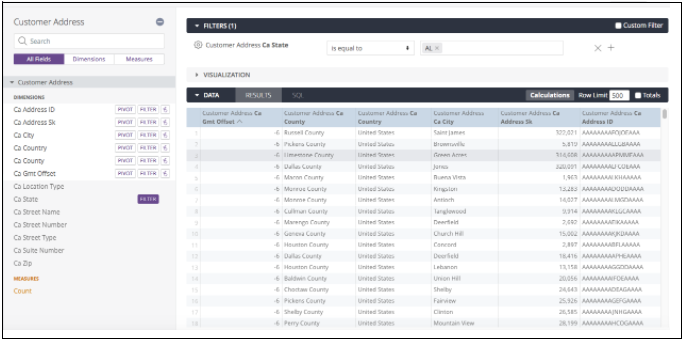
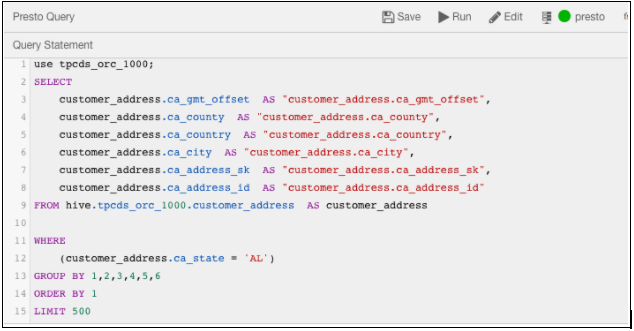
Select the required field at the left side of the scroll bar in the Panel and click the Filter tag beside it. In the SQL sub-section under Data in Looker, you can see the SQL which is formed out of the selected filters.

Click Run. It starts running a query on Qubole and it can be seen on the Analyze page of Qubole.

You have successfully created a Dashboard on Looker. Under the Visualizations and Data sections on Looker UI, the results are populated for the selected columns.