Configuring Redash
A. Creating a Redash Account
To create a Redash account, follow the instructions below:
Visit https://redash.io/ and click Get Started to create your Redash account.
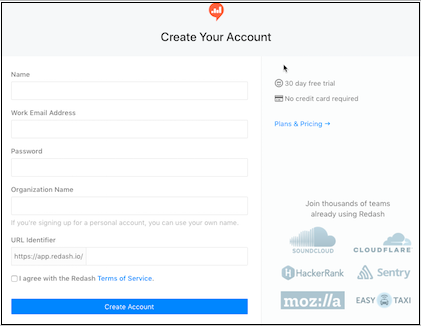
On the Create Your Account page, enter the details in their respective fields and click Create Account. Take note of your Organization’s Redash address.
After the successful creation of your Redash account, click Login and enter your Organization’s Redash address. Click Continue.
B. Connecting to a Data Source
After the creation of your Redash account, follow the instructions below to connect it to a Data Source.
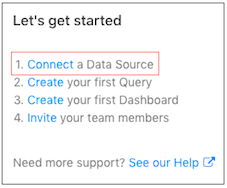
Click Connect to connect a Data Store.
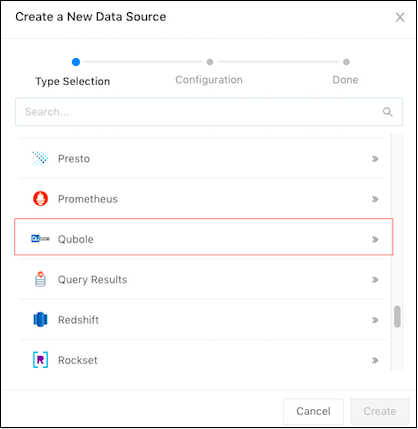
Select Qubole to create a new Data Store.
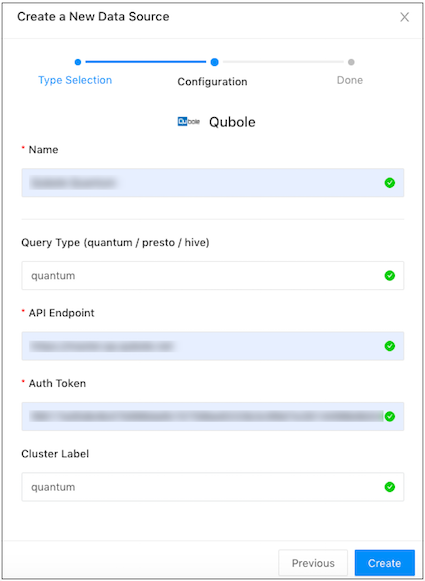
Enter the required details in the following fields: Name, Query Type, API Endpoint, Auth Token, and Cluster Label.
Note
You can find the Auth Token from the QDS (Control Panel > My Accounts > click Show under the API Token column and copy it). To know more, see Managing Your Accounts.
Enter Cluster Label if you are creating a connection using Hive/Presto. In the case of Quantum, you can leave the Cluster Label field empty as it is a serverless offering.
Click Create. You can also click Test Connection to check the connection. After you receive a success message, click Save.
Note
For more information about querying, visualization, dashboard, and so on, see Redash Knowledge Base.