About the Analyze User Interface
Use the Analyze page to compose and run queries and commands against datasets. You can also use Analyze to exchange data between various databases and Qubole using the Data Import Commands and Data Export Commands.
Note
Qubole supports options to control the query runtime, which are described in Configuring Query Runtime Settings.
This section explains how to use the Analyze page and its component tabs:
Using the Supported Keyboard Shortcuts in Analyze describes the supported keyboard shortcuts.
History Tab
Note
Commands older than 6 months from the ODBC, API, and SDK sources will not be available for review from the Analyze interface. However, these commands will continue to be archived into your configured cloud storage.
Navigating to the Analyze page brings up the History tab by default, as shown in the following figure.
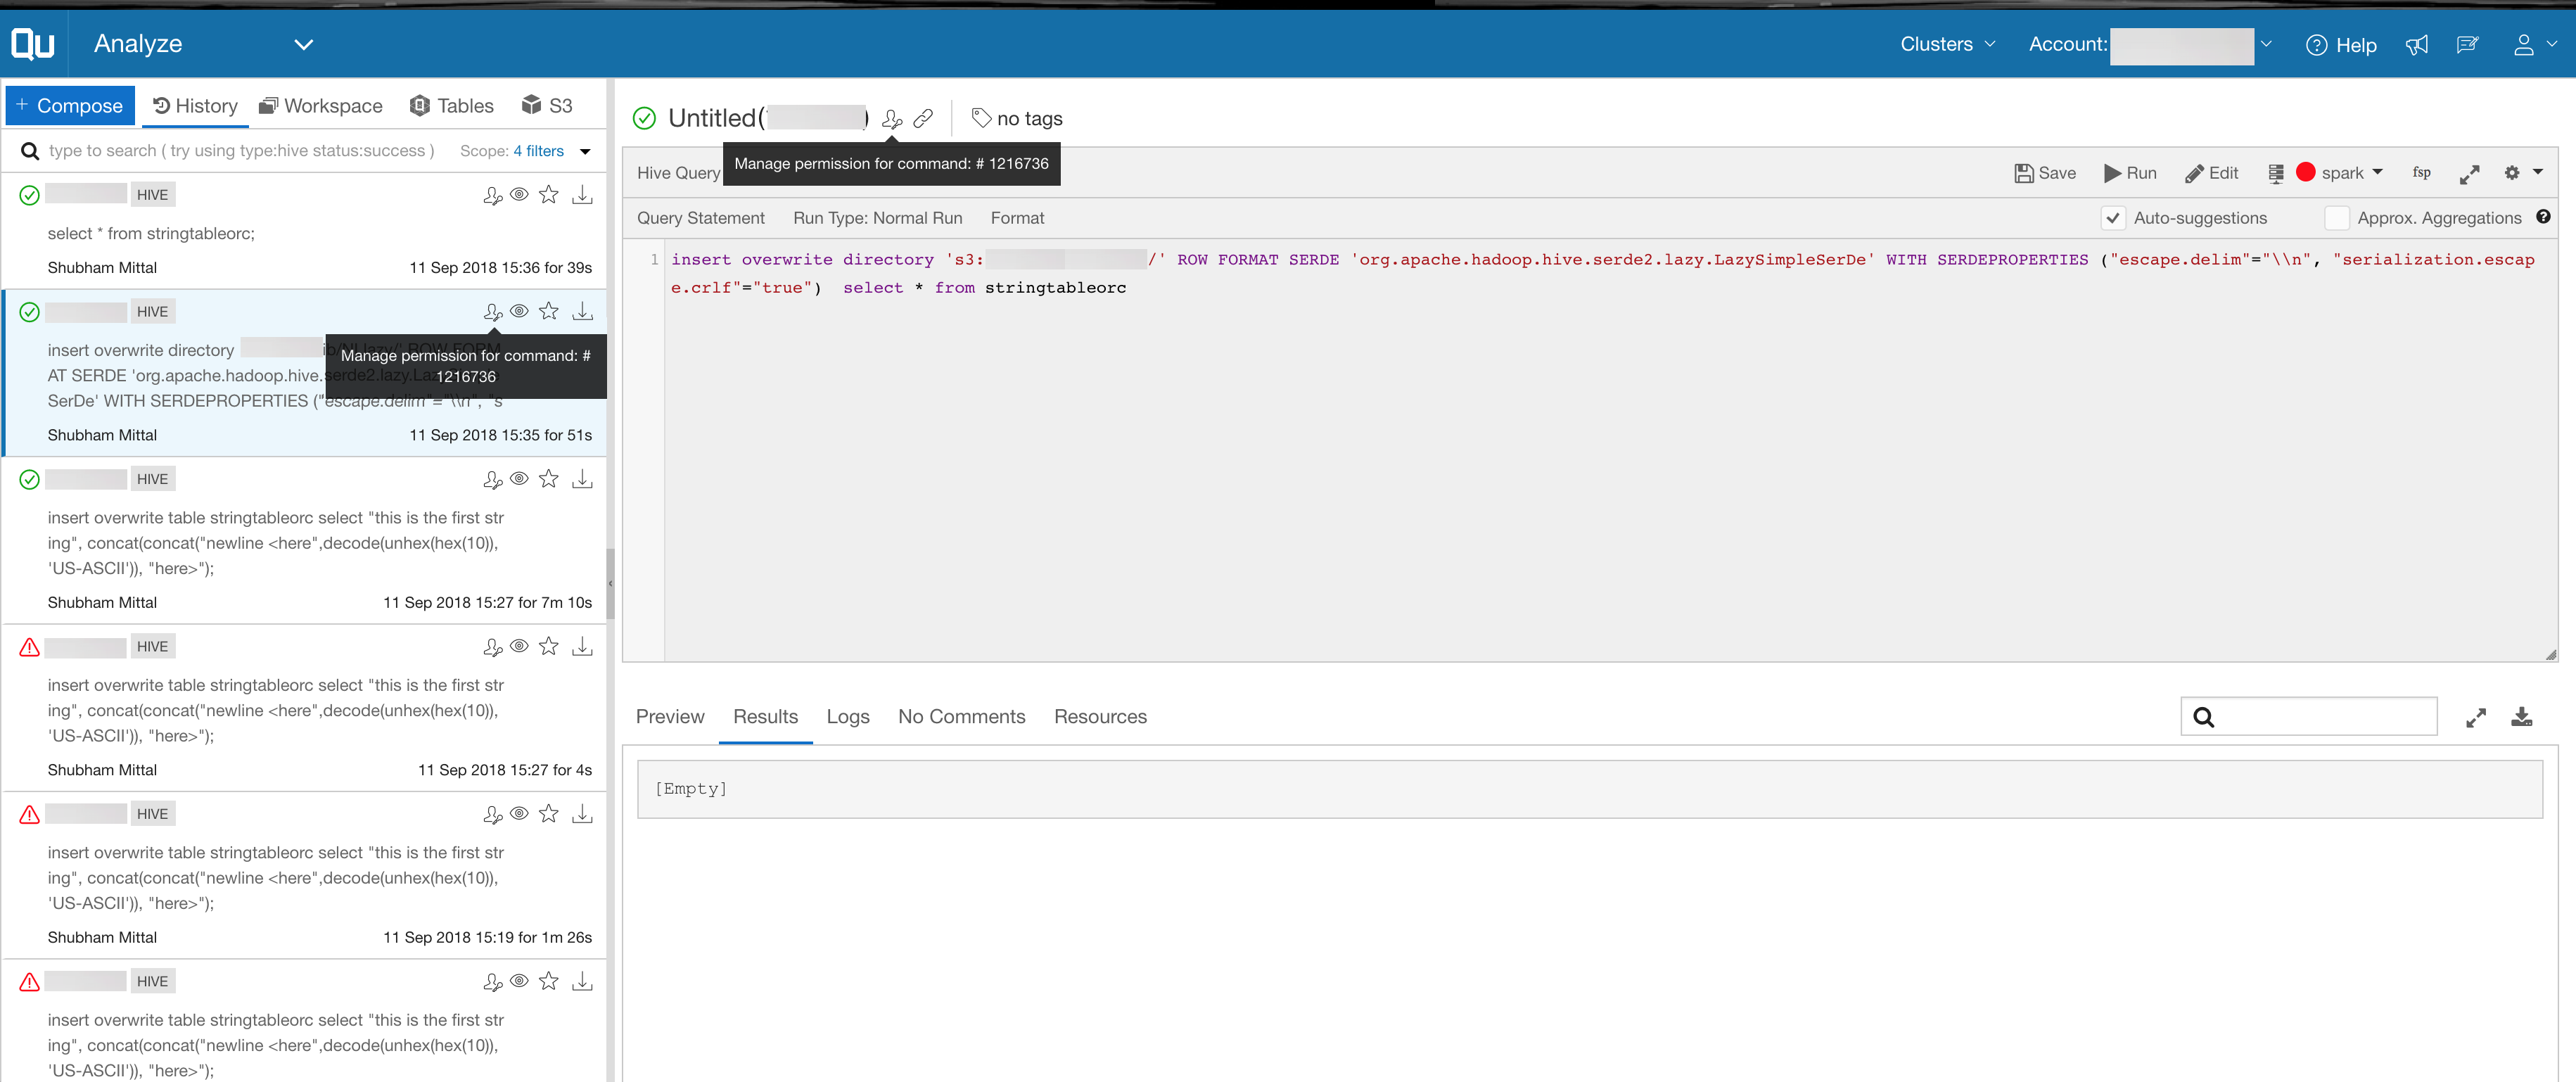
This shows previous commands, logs and results. Search for previous commands by providing the command ID, command type,
status, user, tags, name, and so on. You can re-run previous queries, or schedule them to run later, without edits. By
default, 4 filters are selected and the search filter text field format is changed. For example, you can enter type:hive status:failed
as a search string in the search filter’s text box to get the list of failed Hive commands.
QDS explicitly indicates commands that are waiting to execute. The  icon indicates that the command is throttled and provides its
position in the queue so that users can distinguish these from commands that are already running. A warning message also appears
in the lower right pane under Logs.
Note
To avoid other users from seeing your commands, assign other users a policy for Command Resource with
only create permission in Control Panel > Manage Roles. With this policy, other users can create
a command but are denied access to see other users’ commands. For more information, see Resources, Actions, and What they Mean.
Understanding the Search Experience on Analyze describes the search experience for text/keywords searches and other search fields. For each word search in the Text field, the Search History displays results in these two different ways:
The default search history that displays search results for the words (specified in the Text field) from the last 100 commands run by the current user. With this default search history, this condition is valid:
The filter in the History tab has Start Date and End Date for filtering between a specific duration. Whenever you select a cluster label or tag in this filter, selecting a duration (a maximum of 30 days) is mandatory.
The search history searches the words (specified in the Text field) in the last 6 months data and displays such search results. This provides a larger set of results. This feature is not enabled by default. To enable it, create a ticket with Qubole Support.
Tables Tab
This tab shows all the Hive schemas and tables in your account; for example.
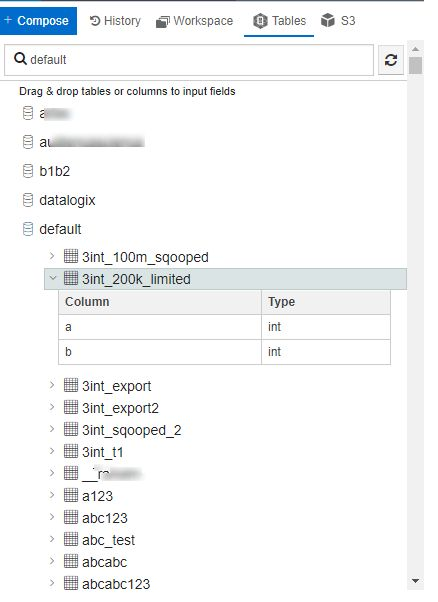
Click on a table to see its columns and their types. You can also refresh the schema to get metadata for any newly created Hive tables. This view helps in composing Hive or Presto queries against the Hive tables.
(Filesystem) Tab
This tab is labelled for the Cloud filesystem your QDS account uses: S3, WASB, etc. Use it to browse that filesystem and examine the directories and files.
Uploading and Downloading a File to or from a Cloud Location
You can upload a downloaded results file (in CSV or other format) to a Cloud location.
Note
The QDS role assigned to you must have upload and download permissions for the Object Storage resource; see Resources, Actions, and What they Mean.
To upload a file, follow these steps:
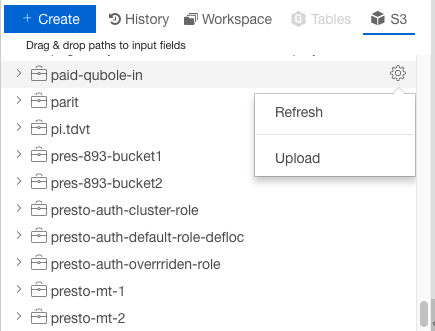
From the Analyze page, choose the tab for your Cloud filesystem (S3, WASB, etc.) and choose the location to which you want to upload the file. Click the gear icon, as shown below (this example shows an S3 location).
The Upload a file dialog appears as shown here.
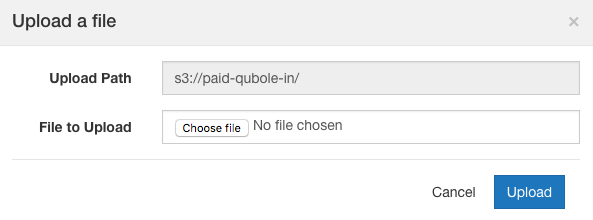
Click Choose File, browse to the location of the file, and select it.
Click Upload for uploading the file to the S3 location. Click Cancel if you do not want to upload.
Note
The maximum file size limit for uploads is 4GB.
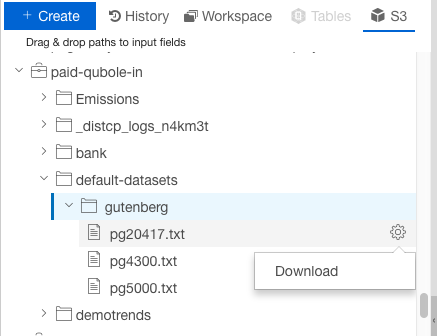
Similarly, you can download a file from a Cloud location. Select the file that you want to download, click the gear icon next to the file and select Download (as shown in this S3 example).
Using the Supported Keyboard Shortcuts in Analyze
Press Shift + / (implies ?) to see the list of available keyboard shortcuts. You can disable or enable the keyboard shortcuts in Control Panel > My Profile. By default the shortcuts are enabled. For more information, see Managing Profile.
Note
The keys are case sensitive.
Keyboard Shortcut |
Functionality |
|---|---|
k |
Moves to the next command in the list |
j |
Moves to the previous command in the list |
m |
Loads more commands |
h |
Focuses on the History tab |
p |
Focuses on the Workspace tab |
v |
Switches to Version in Workspace |
f |
Focuses on the Workspace search bar |
/ |
Opens the Filters panel and focuses on the first field |
Esc key from filters panel |
Same as clicking the x button at bottom of the form |
Esc key from any command on the query composer |
Removes focus from the text editor |
r |
Focuses on the Results tab of the current command or refreshes Repo |
l |
Focuses on the Logs tab of the current command |
c |
Focuses on the Comments tab of the current command |
o |
Focuses on the Resource tab of the current command |
s |
Schedules the current command |
d |
Opens the Downloads menu on the left pane of the current command |
t |
Downloads tab-separated command results |
d then l |
Clicks Download Logs |
d then c |
Clicks Download Results as CSV |
d then t |
Clicks Download Results as TSV |
d then r |
Shows the Download Raw Results dialog |
Ctrl + Alt + n |
Opens a new query |
Shift + Enter |
Runs the query |
Ctrl + Alt + s |
Saves the query |
Ctrl + Alt + c |
Clears the query |
Shift + Backspace |
Kills the query |